The Look Builder
Intro
The Challenge
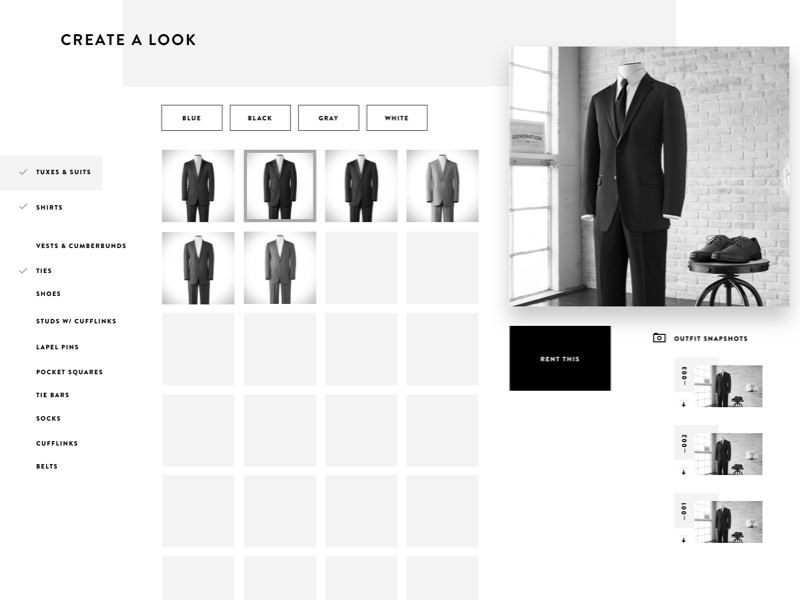
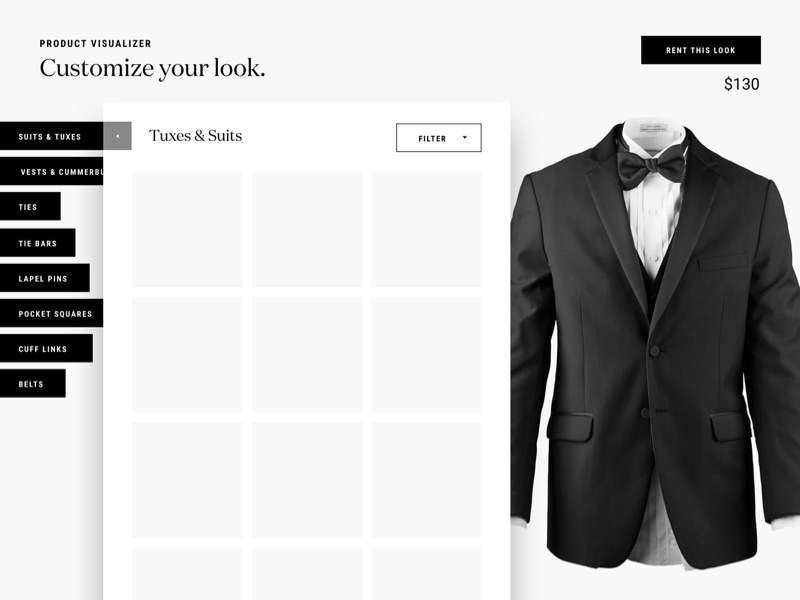
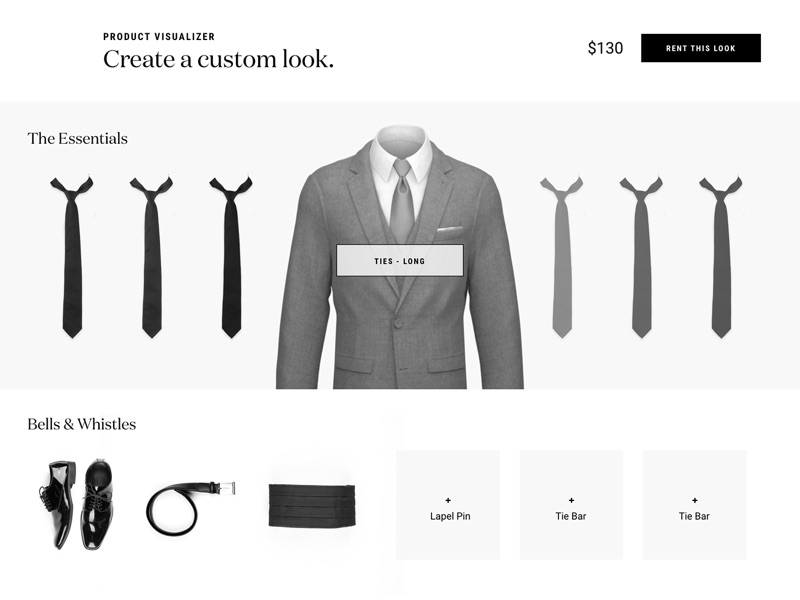
Create a way for customers to visualize thousands of suit, tux, tie and accessory combinations for Generation Tux, an online tuxedo rental company. Gentux has no brick and mortar stores so this UI will be the primary way customers interact with the product. The company also runs multiple brands so the work needs to be reusable.
Details
Exploration
Problems to Solve
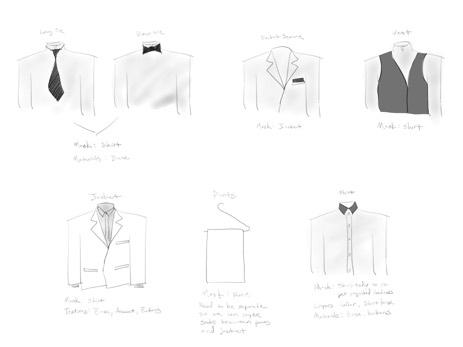
The team knew from the get go that the hardest part would be the image creation process. It seemed like an insurmountable task. Gentux has 12 suits, 8 tuxes, 438 ties, 53 vests, 32 cummerbunds, 12 shirts, and 250+ other accessories. How do you get a photo of every conceivable combination for a customer to see?
On top of that, how do you build a user interface that makes managing such a massive scale of items easy and intuitive?
We ran through a barrage of tests to try and find something that would work.
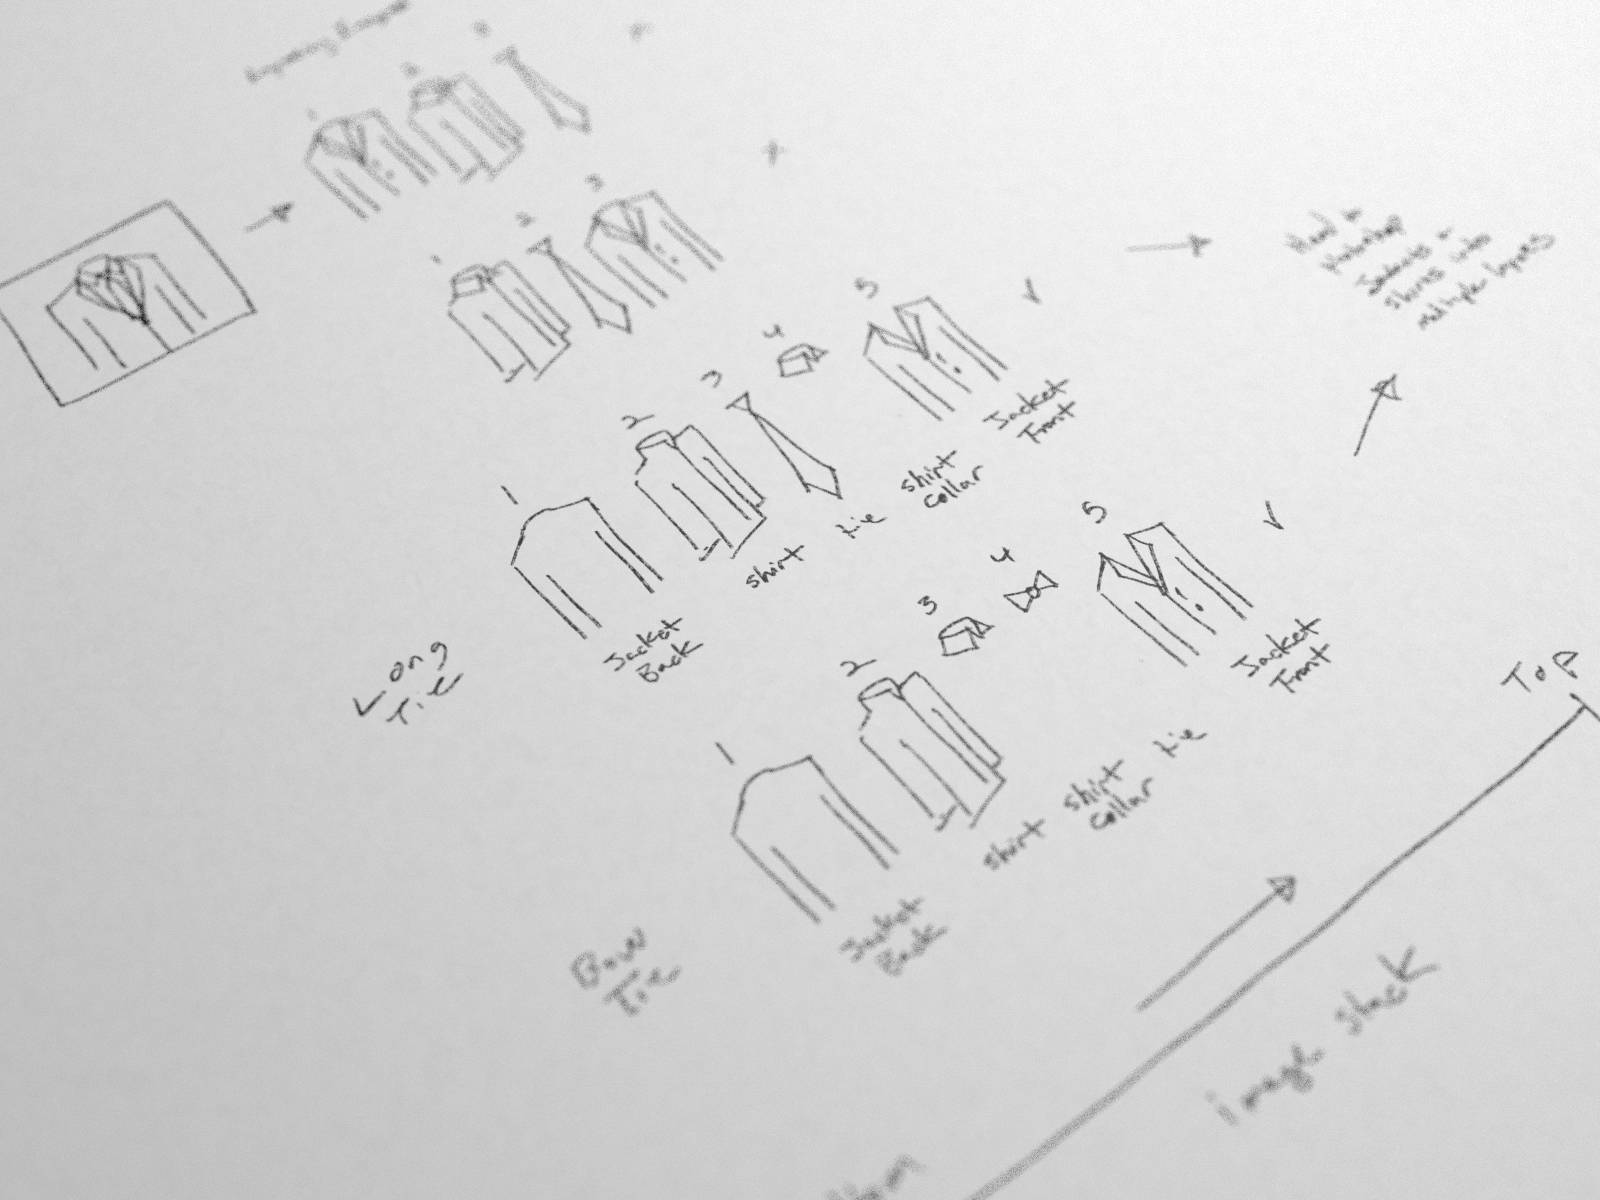
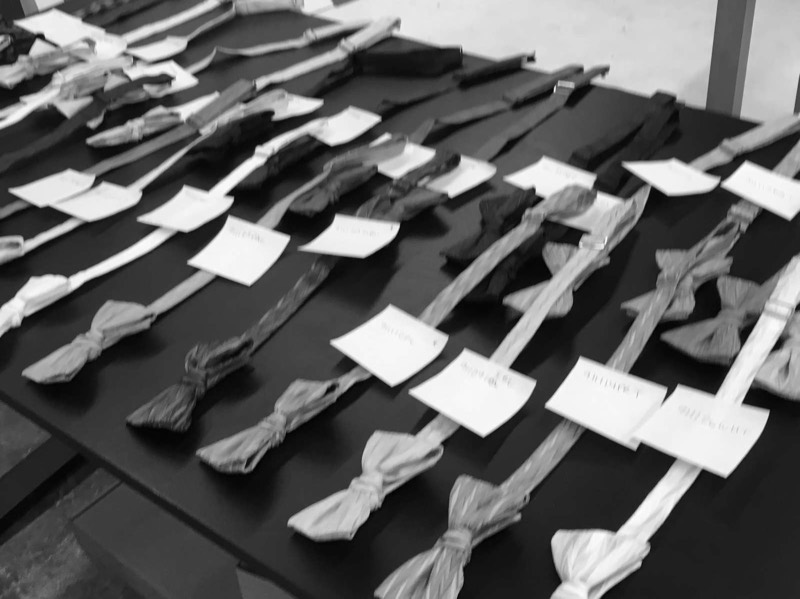
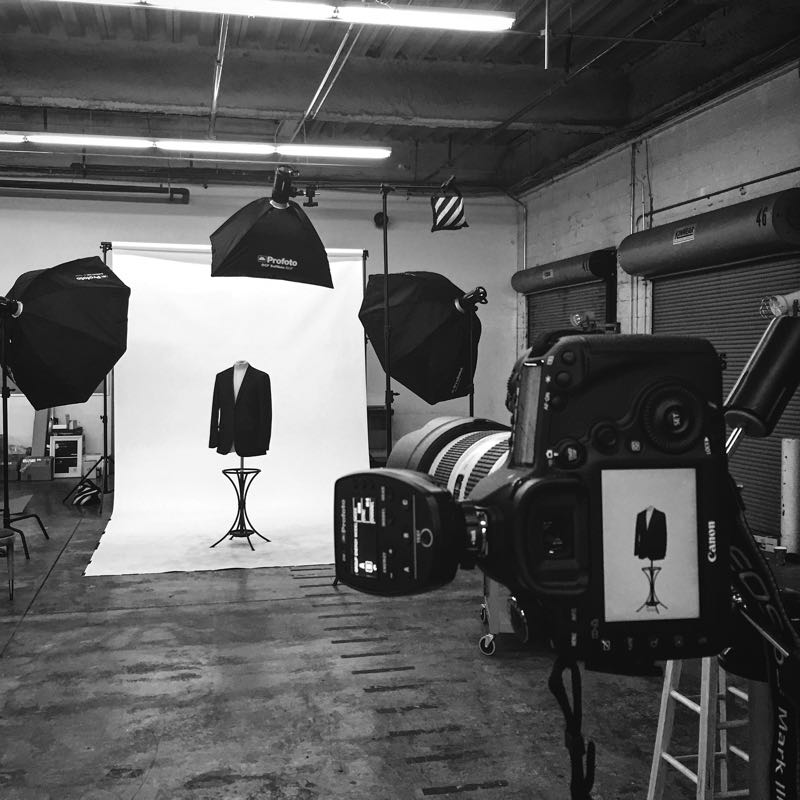
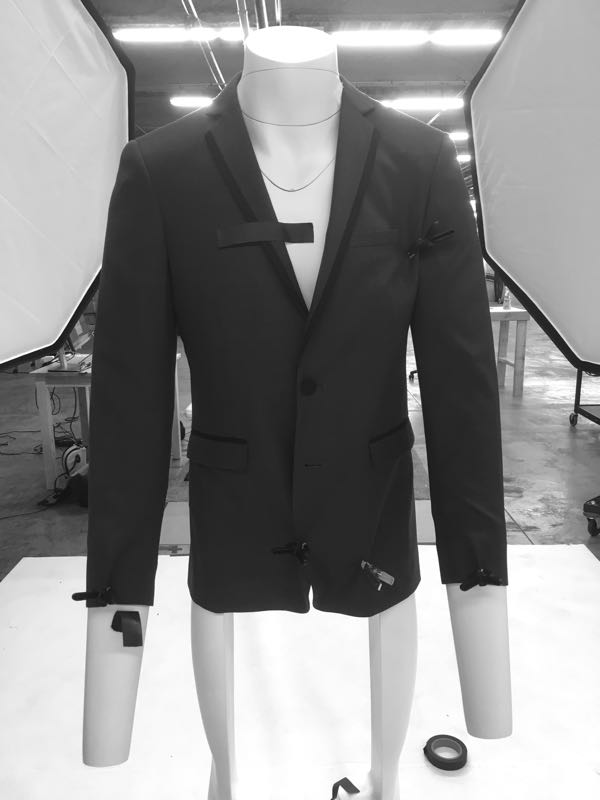
We developed a way to layer images so that items could be photographed separately and compiled together. We also figured out you could get multiple items from one photograph by color correcting one color to look like others, of course that only works if the fabric pattern matched.
These advances helped but we were still going to need weeks of photography and photo editing. We would also be locked into a specific layout. If we ever wanted to change it, we'd be stuck re-shooting everything. This was a small in-house team with other responsibilities, that wasn't going to work.
How do other companies do this?
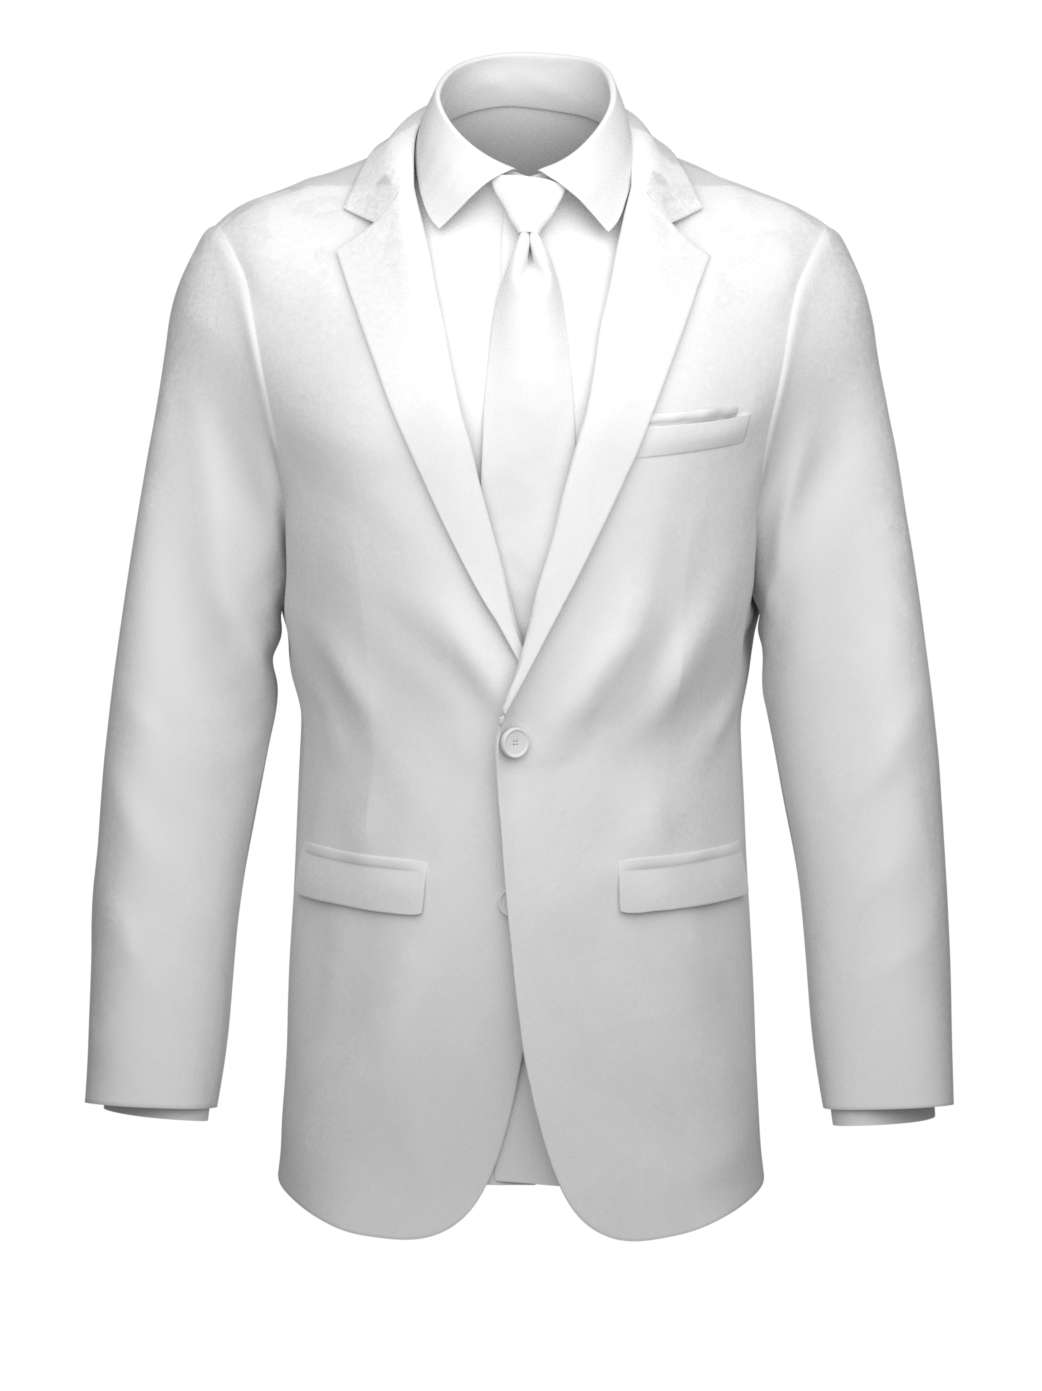
We started digging and came across the answer pretty quickly: 3D renderings. A great example is Nike's shoe builder. I had some experience with 3D but nothing that I thought would pass as photo realistic for a clothing company. I also still had the issue of creating hundreds of individual assets.
There were some benefits to 3D rendering though. We could change camera angles and lighting, we could improving the quality over time, and base 3d models could be reused for different material types. We decided to give it a shot.

3D for the Win!
I made some exciting discoveries.
- I actually created a 3D rendering that could fool the average person. They weren't amazing but I could improve them as I got better!
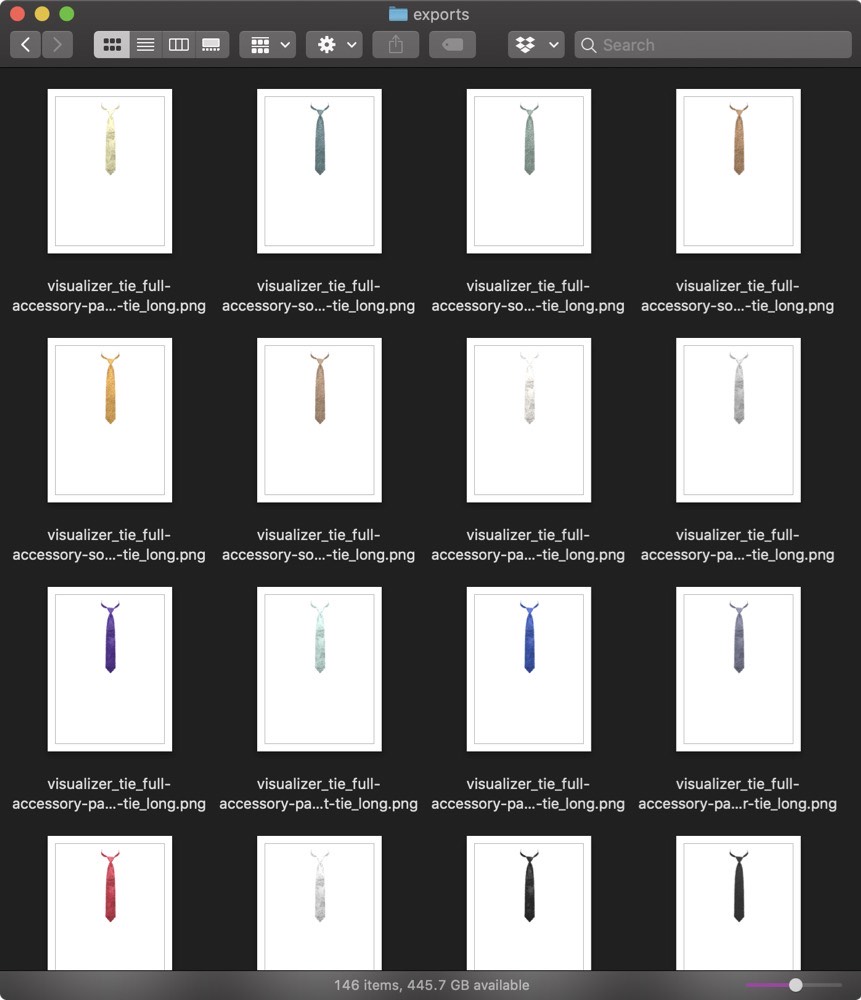
- We could automate the heck out of the rendering process.
My 3D application of choice is Blender. Through this exploration process, I learned about some of its powerful automation capabilities. We could use Python and the command line to render assets. And because Blender is open source, I could render on any computer or multiple computers without having to worry about licenses. That meant we could easily scale up the pipeline if we needed to re-render a lot of items.
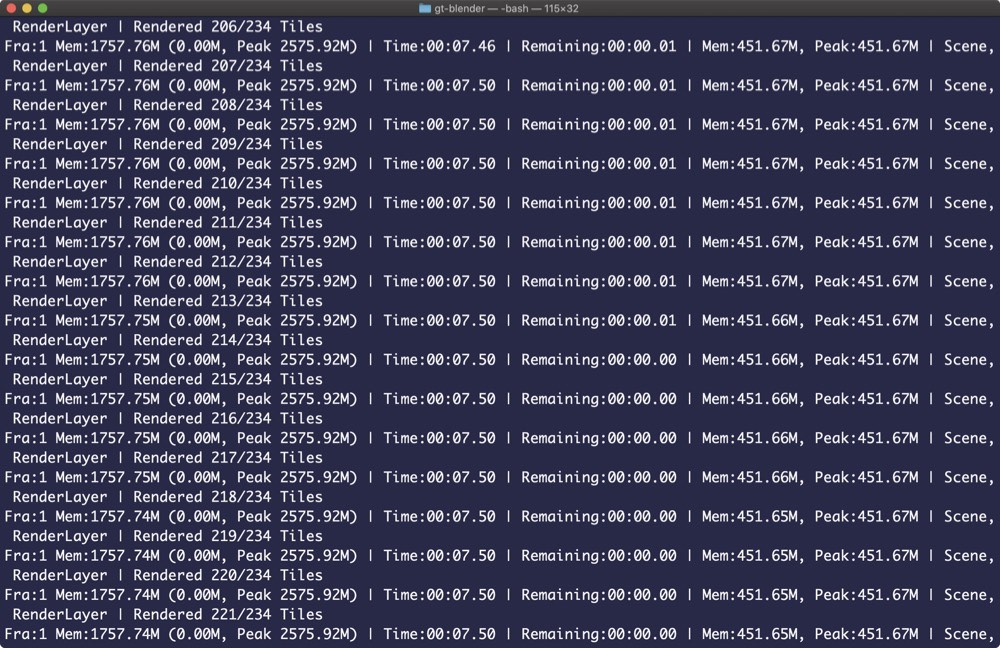
The Rendering Pipeline
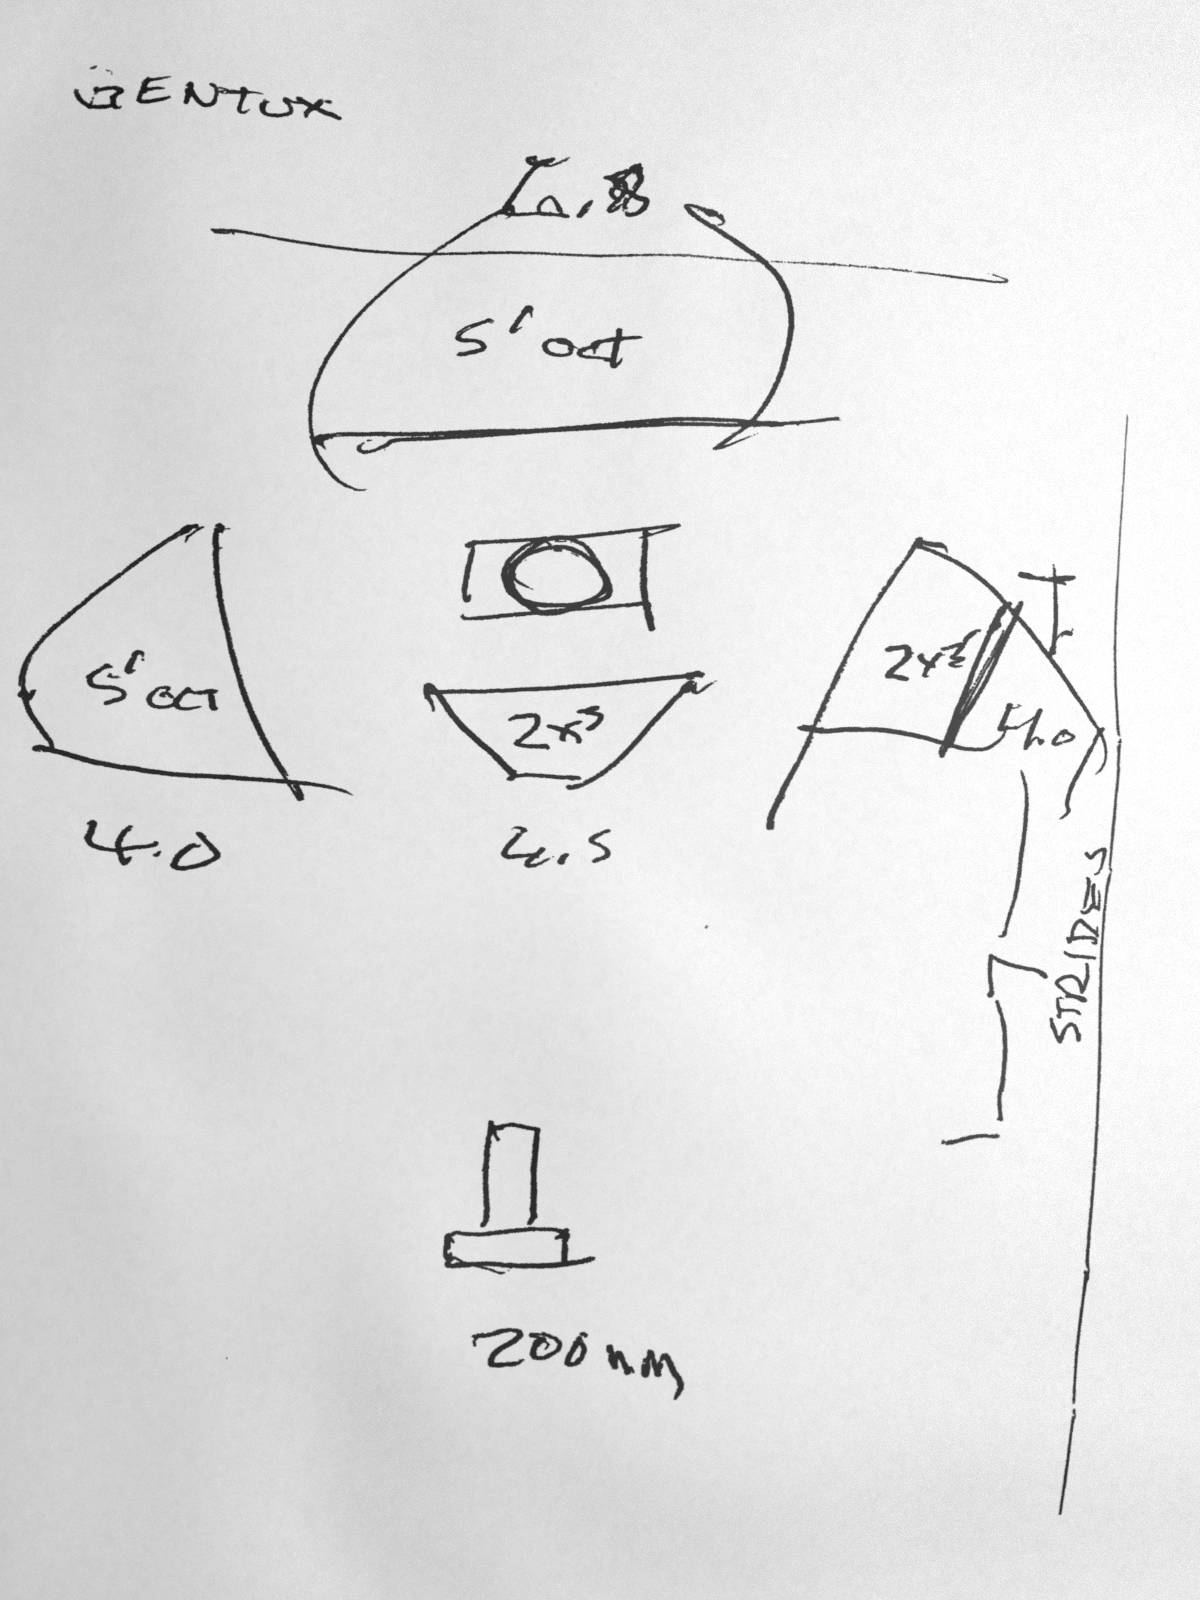
I ended up creating an entire 3D rendering tool set. We had a master file for all the 3D fabric materials, files for each of the 3D models, and a master scene file that contained the studio setup. We got to the point where we could open terminal, type a line of code with the object name (e.g. bow tie) and material (e.g. pin dot fabric) and the computer would start spitting out images in the background!
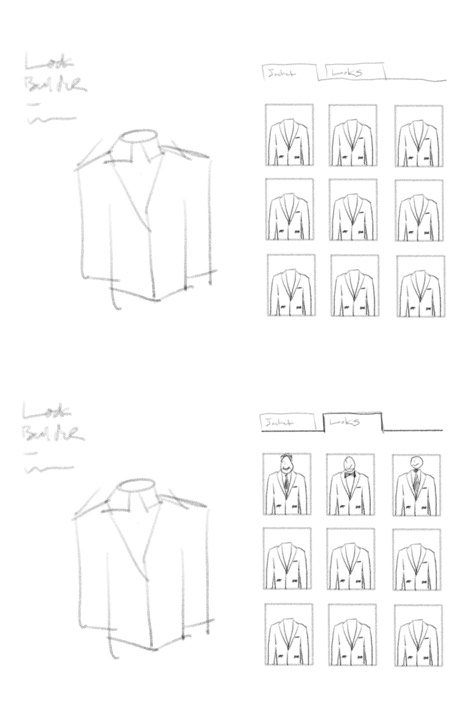
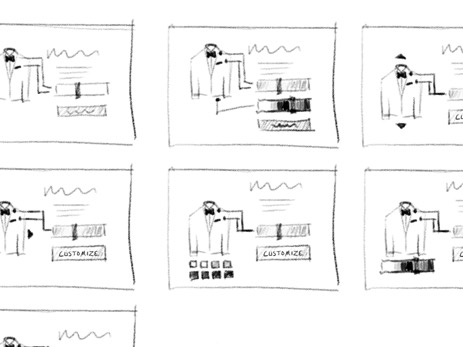
UI Design Process
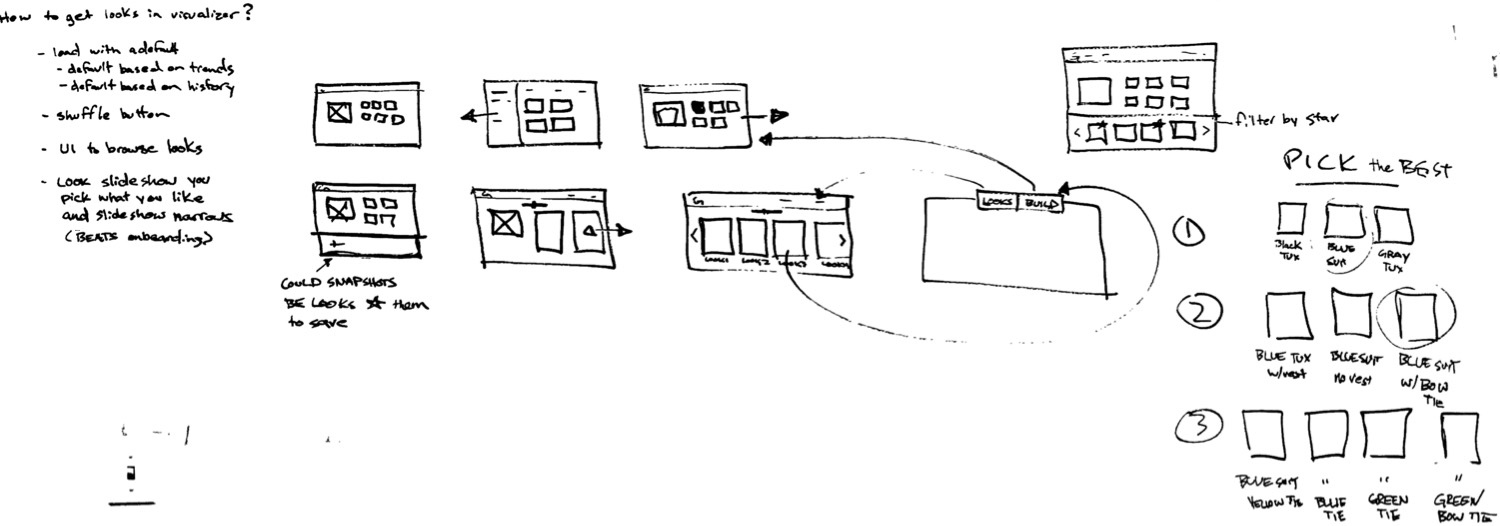
The design process for this project was a ton of fun. We experimented a lot, shot for the moon, then backed off a little for something a little more reserved but functionally solid and user friendly.
We worked in an agile environment so the same principles of morning standup, retros, etc. applied here. The details of the process consisted of a looping iteration of the following tasks:
- Team Member Discussion / Feedback
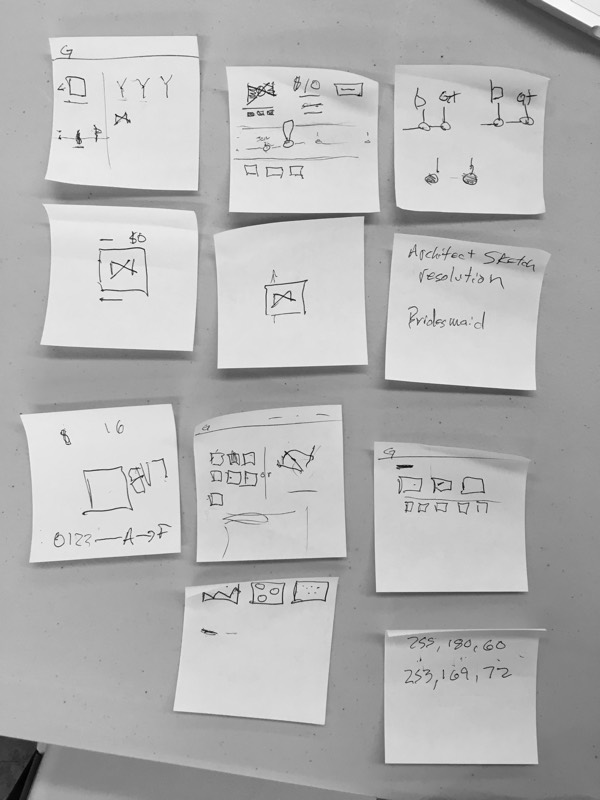
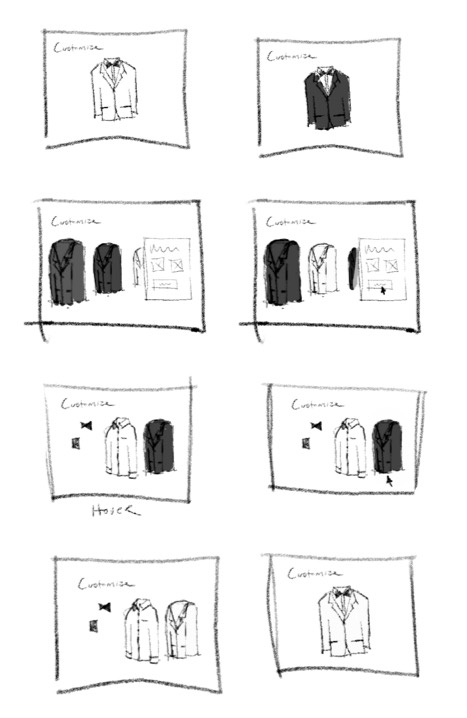
- Head Down Sketching and Designing
- Static Prototyping (non-code based prototypes aimed at working out high level user flow or micro interactions)
- Mini user testing with friends, co-workers, family members

Prototyping
Pedal to the Metal!
Once we felt like things were starting to mesh and we had stakeholder sign off on the feature set, we began building a fully functional, data backed prototype with React. At this point, there's still a ton of design refinement happening. Many details of a design don't really make sense until you get them working in code.
User Testing
For the final stage, we conducted formal user testing with an online service that let us to supply a link to the prototype, specify demographics and devices, then initialize a test. No matter how hard you try to think from the user's perspective, you always get things wrong. It continues to amaze me how much you learn from watching people use an app or website.
Here were a few key findings from the tests:
- Getting back to the main item list screen was troublesome.
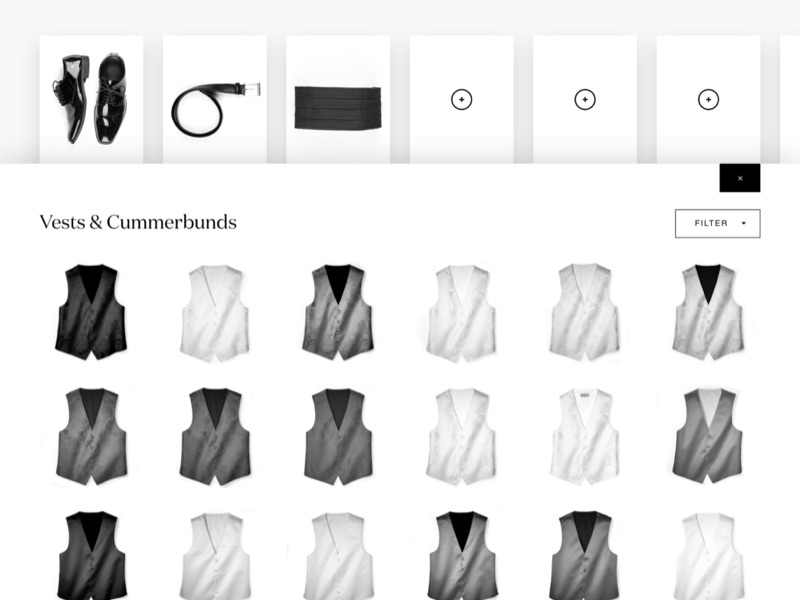
- Users were having issues moving between product categories from within the gallery.
- Some users accidentally canceled their changes by hitting the x button.
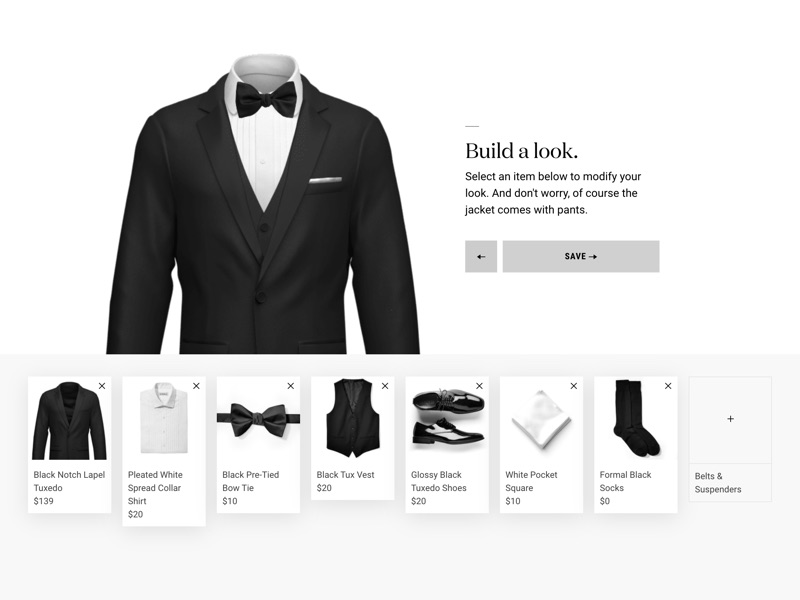
- Editing looks was a little tough for a few users.
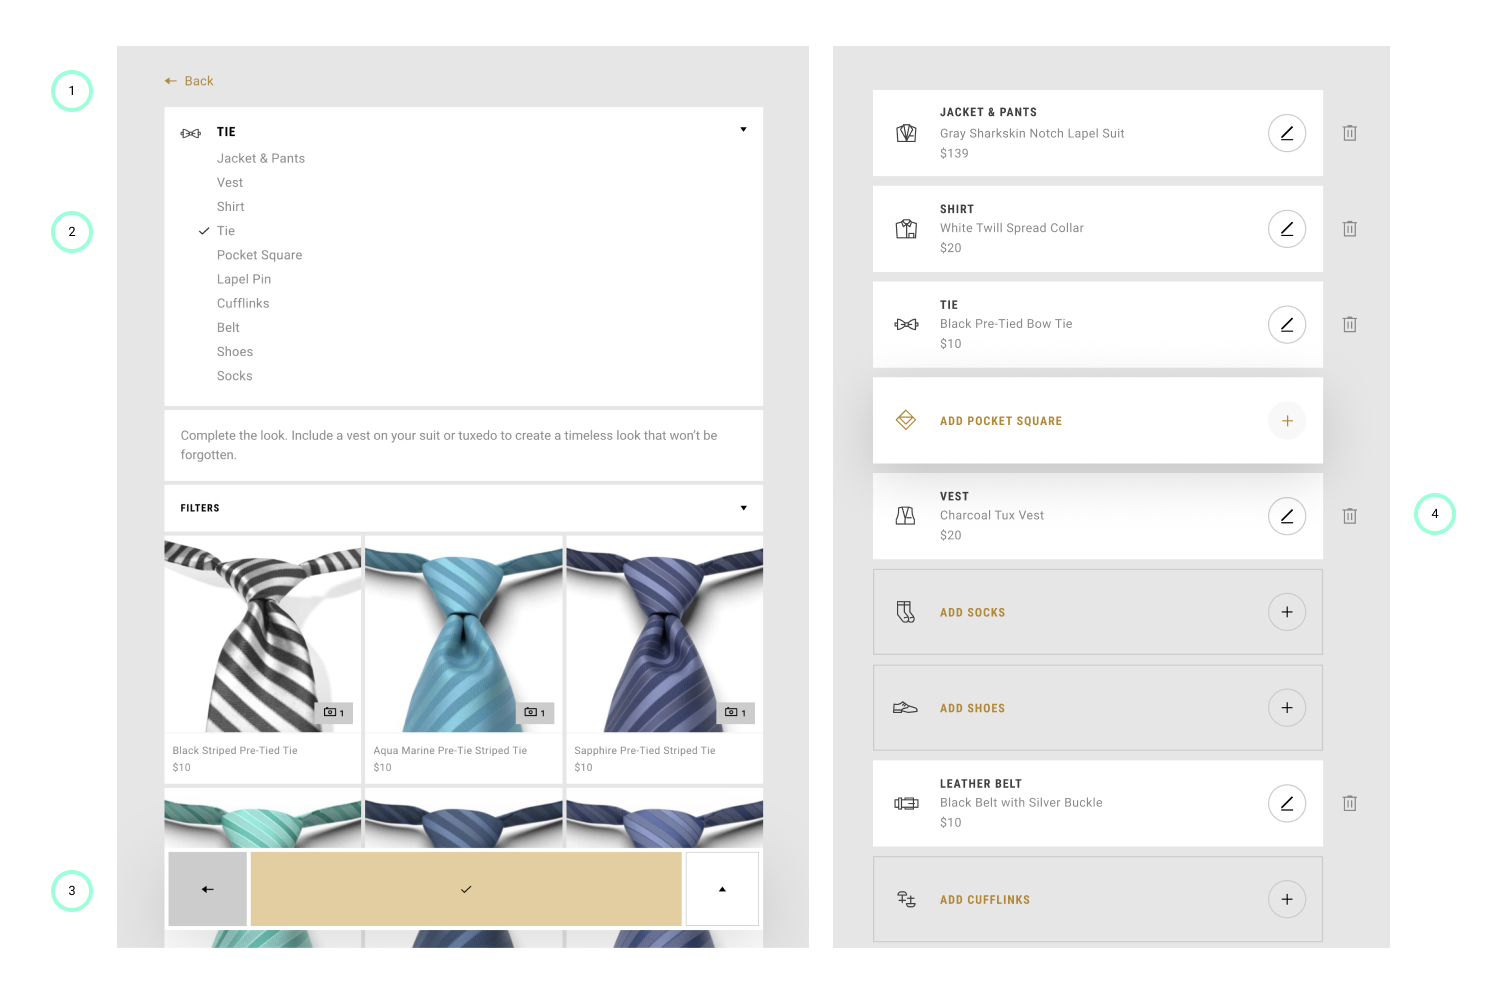
We addressed the issues with the following changes:
- Added back button
- Made the product title a drop down so you can switch between categories
- Reduced the x button size and made it a back button. We also change the behavior to not cancel changes.
- Added an edit icon in place of the price. This also aligned new and edit function buttons.
Results
- Garment Selection increased 6x
- Category exploration went up 15-20%
- Filter use is up 7-14x
- Average time on look builder pages went up
- Items per look went up which increases overall order value
- Customer service issues decreased
Conclusion
The final code base was handed off to the engineering team to integrate into the Gentux website. In the end, the UI team accomplished a staggering amount of great work over a relatively small amount of time.
The Final Features:
- Friendly, responsive UI allowing users to build out an entire formal wear outfit.
- 3D rendering pipeline that can automate the creation of thousands of assets.
- Modular NPM package that can be easily imported to multiple projects.